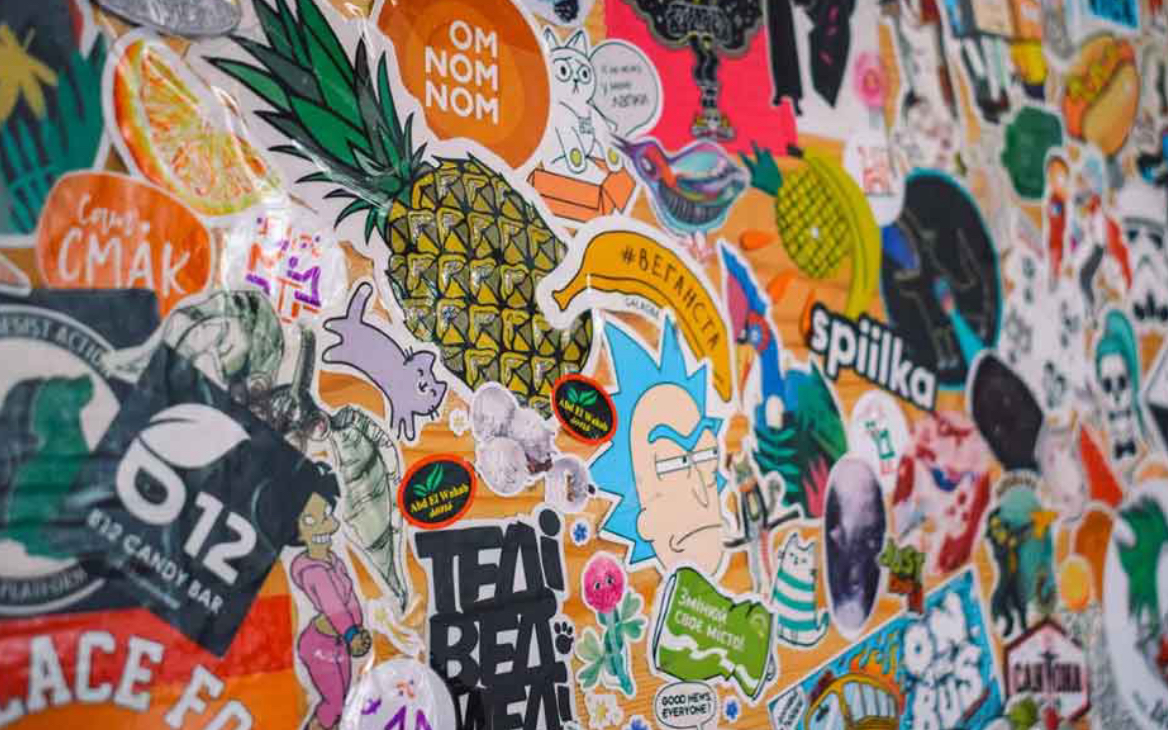
Custom vinyl stickers offer a versatile and creative way to enhance the aesthetic appeal of any space. Whether you’re decorating your home, office, or business establishment, applying vinyl stickers can instantly transform the ambiance. However, achieving a flawless installation requires careful preparation of the surface where the stickers will be placed. In this guide, we’ll delve into the essential steps and considerations for prepping your wall to ensure a seamless and long-lasting application of custom vinyl stickers.
Assessing the Wall Surface
Begin by thoroughly examining the wall surface where you intend to install the custom vinyl stickers. Take note of any imperfections such as cracks, bumps, or texture irregularities. Identifying these issues beforehand allows you to address them effectively during the preparation process.
Testing Adhesion Compatibility
Before applying custom vinyl stickers to the entire wall surface, consider conducting a small test in an inconspicuous area to ensure compatibility with the wall material and paint. This step is particularly important if the wall has been recently painted or has a unique texture. Apply a small portion of the sticker and observe its adhesion over the course of a few days to ensure that it adheres securely without causing any damage or peeling.
Cleaning the Wall
One of the most critical steps in prepping your wall for custom vinyl sticker installation is cleaning. Start by removing any dust, dirt, or grease using a mild detergent solution and a soft sponge or cloth. Ensure that the entire surface is thoroughly cleaned to promote better adhesion.
Removing Existing Wall Decorations
If there are existing decals, wallpapers, or other decorations on the wall, it’s essential to remove them before proceeding with the installation of custom vinyl stickers. Use a scraper or putty knife to gently peel off any old stickers or adhesive residues. For stubborn residues, consider using a commercial adhesive remover.
Repairing Wall Imperfections
Addressing any imperfections on the wall surface is crucial for achieving a smooth and even application of custom vinyl stickers. Fill in any cracks, holes, or gaps with a suitable wall filler or spackling compound. Once applied, allow the filler to dry completely before proceeding to the next step.
Sanding the Wall
After the wall filler has dried, lightly sand the surface to smooth out any rough patches and ensure a uniform texture. Use fine-grit sandpaper and a sanding block to gently sand the filled areas as well as the surrounding areas of the wall.
Priming the Wall
Priming the wall is an optional but recommended step, especially if the wall surface is porous or has been freshly painted. Primer helps to create a smooth and uniform surface, enhancing the adhesion of the custom vinyl stickers and preventing them from peeling or lifting over time. Choose a primer that is compatible with both the wall surface and the type of paint or finish used.
Measuring and Marking
Before applying the vinyl stickers, it’s essential to measure and mark the desired placement on the wall accurately. Use a measuring tape and a pencil to outline the position where each sticker will be placed. This step helps to ensure precision and alignment during the installation process.
Preparing the Vinyl Stickers
If you’re using custom vinyl stickers, carefully remove them from their packaging and lay them flat on a clean, flat surface. Use a squeegee or credit card to smooth out any air bubbles and ensure proper adhesion of the stickers to the transfer tape.
Applying the Vinyl Stickers
Once the wall preparation is complete and the stickers are ready, it’s time to apply them to the wall. Peel off the backing paper from the vinyl stickers, taking care not to touch the adhesive side. Align the stickers with the marked positions on the wall and gently press them into place, starting from the center and working your way outwards.
For custom die cut stickers, precision is a key. These uniquely shaped stickers add flair to any surface. Ensure that the die-cut edges align perfectly with your design, enhancing the visual impact. Whether it’s intricate patterns or bold logos, the meticulous application process ensures a professional finish.
Removing the Transfer Tape
After firmly pressing the custom vinyl stickers onto the wall, carefully remove the transfer tape by peeling it off at a 45-degree angle. Take your time and ensure that the stickers adhere smoothly to the wall surface without any air bubbles or wrinkles.
Final Touches and Inspection
Once all the vinyl stickers have been applied, step back and inspect the wall for any imperfections or areas that may require touch-ups. Use a squeegee or your fingers to smooth out any remaining air bubbles or wrinkles. Allow sufficient time for the stickers to set and adhere properly to the wall surface before handling or touching them.
Conclusion
Prepping your wall for custom vinyl sticker installation is a crucial step that significantly influences the outcome of the project. By following the steps outlined in this guide and paying attention to detail, you can achieve a flawless and long-lasting application of vinyl stickers that enhances the visual appeal of your space. Remember to take your time, be patient, and enjoy the creative process of transforming your wall with custom vinyl stickers.
